 Image 1 of 9

 Image 2 of 9

 Image 3 of 9

 Image 4 of 9

 Image 5 of 9

 Image 6 of 9

 Image 7 of 9

 Image 8 of 9

 Image 9 of 9


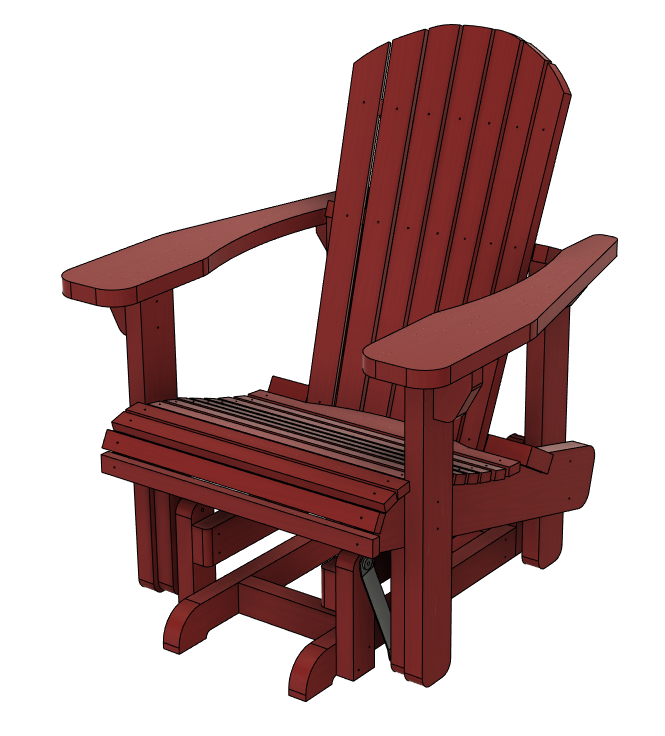
Fisher's Adirondack Glider
This set of instructions will show you how to convert the Rockler Adirondack chair into the Fisher’s Adirondack Glider and it’s meant for you to use alongside the set of Rockler plans and templates (which is an ADDITIONAL PURCHASE you'll be required to make from Rockler's website). The key differences between the two chair designs are that the Fisher’s design raises the backrest up so you’re not leaning so far back, the chair itself is raised up by approximately 3 1/2”, and some pieces have been modified/added to make it a glider instead of a stationary chair. This chair is very comfortable and, in my opinion, a huge upgrade from the original design. The material cost to make these chairs is very low making this a perfect beginner's project. And if you're looking to sell these chairs, you could make a killing! Check out the video and see for yourself!
Dimensions: All measurements are in Imperial format only!
File Format: This document is a PDF and readable using Adobe Acrobat Reader or other PDF-compatible viewers.
This document contains detailed step-by-step instructions on building the Fisher's Adirondack Glider that is depicted in the video on Fisher's Shop YouTube channel. Haven't seen the video? Here’s a link to it!
**Please note this is a DIGITAL FILE, not the physical item shown as the example.

