 Image 1 of 3

 Image 2 of 3

 Image 3 of 3


Fisher's Shop Template
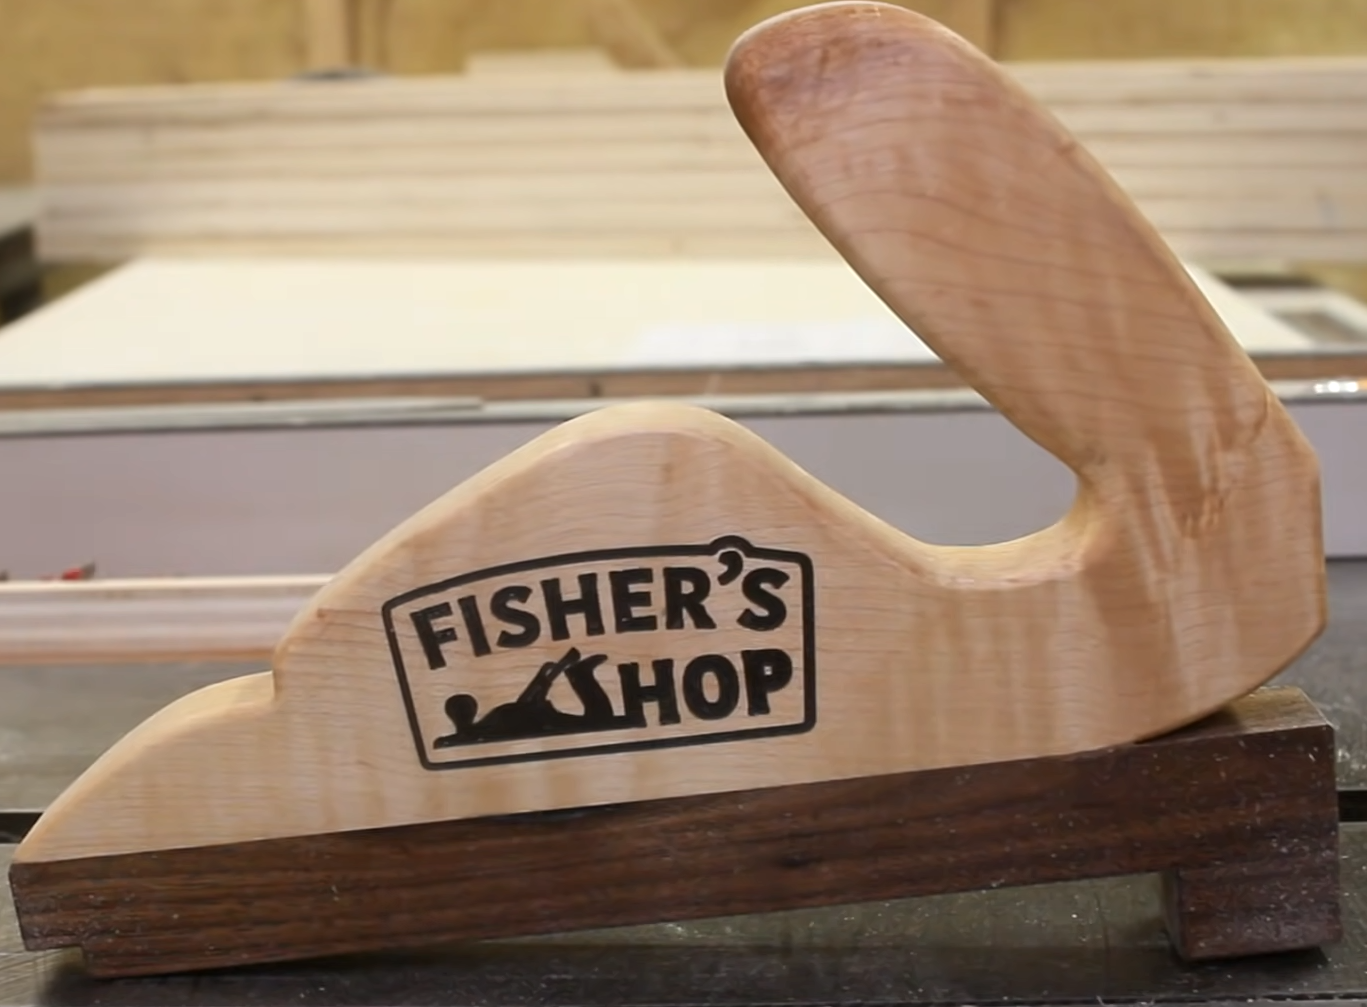
Here’s the template which you can use to make your very own Fisher’s push stick for your table saw. This is a unique design which is comfortable to use and doesn’t strain your wrist over prolonged use. It applies downward pressure on the work piece which is safer than the alternative bird’s mouth push sticks which only apply forward pressure. Additionally, once the sole gets chewed up with use, you can use the square back to easily trim off the damaged areas using a cross-cut sled, and glue on a new one. The extra space in the handle cutout as well as the divot near the front allow you to put on clamps to glue on a new one. Then, the rear of the push stick tapers up and gives you room to use a spring clamp to attach on a new heel. Finally, square up the back again at your miter saw and the push stick is like brand new! I’ve literally used the exact same push stick for years using this technique and now YOU can too!
Check out the build video to understand exactly why this push stick is a cut above the rest and how to keep restoring it as good as new! https://www.youtube.com/watch?v=Rw7rutUKrlo
